Shryxellzun
A freshly installed beautiful overhead shade perfectly tensioned
Installation

Mounting & Fit Guide

Achieve a flawless finish. Our systems are designed for intuitive setup, provided you follow the precise sequence of steps detailed below.

01

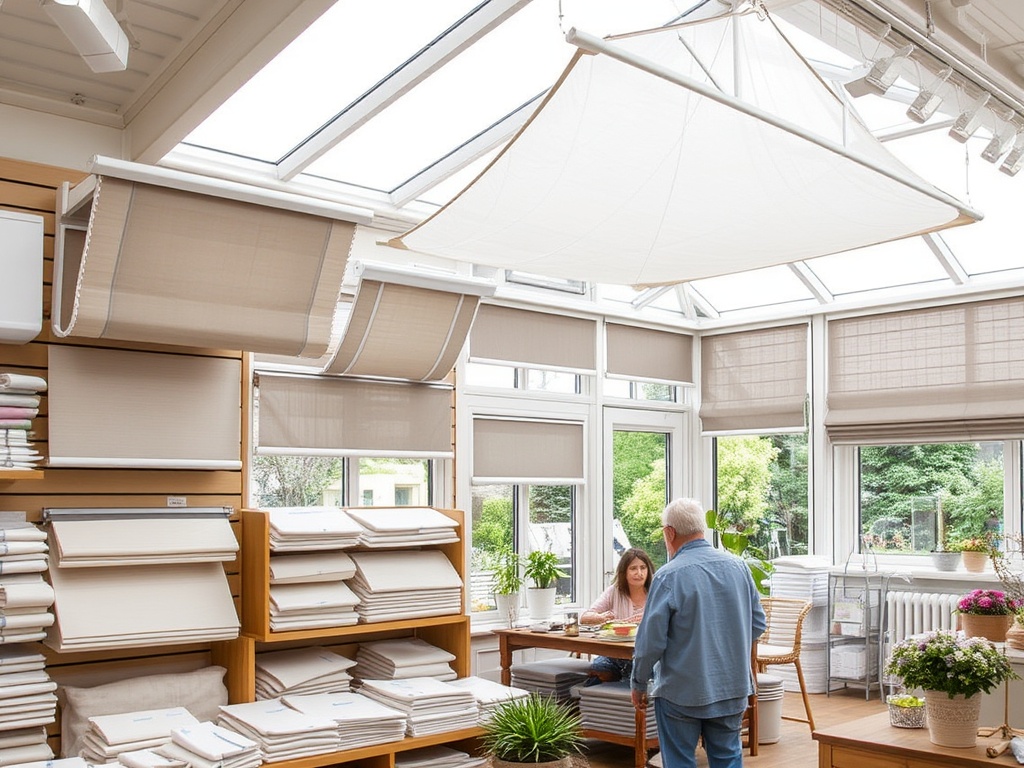
Prepare the Perimeter

Before unpacking the main fabric body, ensure your conservatory glass and framework are entirely clean. Dust or residue will interfere with the tension adhesive.

  • Wipe beams with a damp cloth
  • Let dry completely
  • Map out anchor points
Person cleaning the upper conservatory beam in preparation
02

Install the Anchors

Affix the high-grade aluminum brackets precisely at your previously marked points. These brackets are the foundation of your flawless canopy.

  • Drill pilot holes gently
  • Fasten screws firmly
  • Verify bracket alignment
Close-up diagram of a sleek tension bracket being screwed into place
03

Deploy the Fabric Layer

Roll out the shade slowly, clipping the primary leading edge into the anchor housing until you hear a definitive, soft click securing the material.

  • Unfold canvas delicately
  • Insert leading edge
  • Listen for the secure click
Hands carefully inserting the edge of a neat fabric panel into a metal housing
04

Apply Final Tension

Use the integrated corner dials to tighten the system. You want the fabric to be taut, smooth, and free of any drooping sections.

  • Rotate dial clockwise
  • Confirm smooth surface
  • Test the retraction
Demonstration of the final tensioning process using the adjustment node
Wide view of an immaculately fitted room displaying expert craftsmanship

Require Technical Assistance?

If you encounter any irregularities during the setup process, our support team is entirely at your disposal.

Contact Support